Beta: Workflow's Zapier integration is currently in private beta. You cannot find it in Zapier's public App Directory—you must use the invite link below to connect. Triggers are available (Workflow events start automations), but actions (creating Workflow items from other apps) aren't supported yet.
Overview
Connect Workflow to Zapier to automate your feedback process across 7,000+ apps. When events happen in Workflow—tasks created, comments added, approvals completed—Zapier can instantly trigger actions in Slack, Gmail, Google Sheets, Notion, Trello, and thousands more. No code required.
A "Zap" is an automated workflow with two parts: a trigger (something that happens in Workflow) and an action (what Zapier does in another app in response). During the beta, Workflow provides the triggers—you connect those to actions in any Zapier app.
Prerequisites
A Workflow account (any plan)
A Zapier account (free or paid)
Plan availability
The Zapier integration is available on all Workflow plans (Free and Standard). Zapier's own pricing applies for task volume—free Zapier accounts include up to 100 tasks per month.
Before you begin
Triggers only: Workflow can start Zaps but can't receive actions from other apps yet. For example, you can't create a task in Workflow from an email. This is a beta limitation—expect actions support in a future release.
Zapier plan consideration: Each Zap execution counts as one task on your Zapier plan. If you have many Workflow events, check your Zapier task usage to avoid hitting limits.
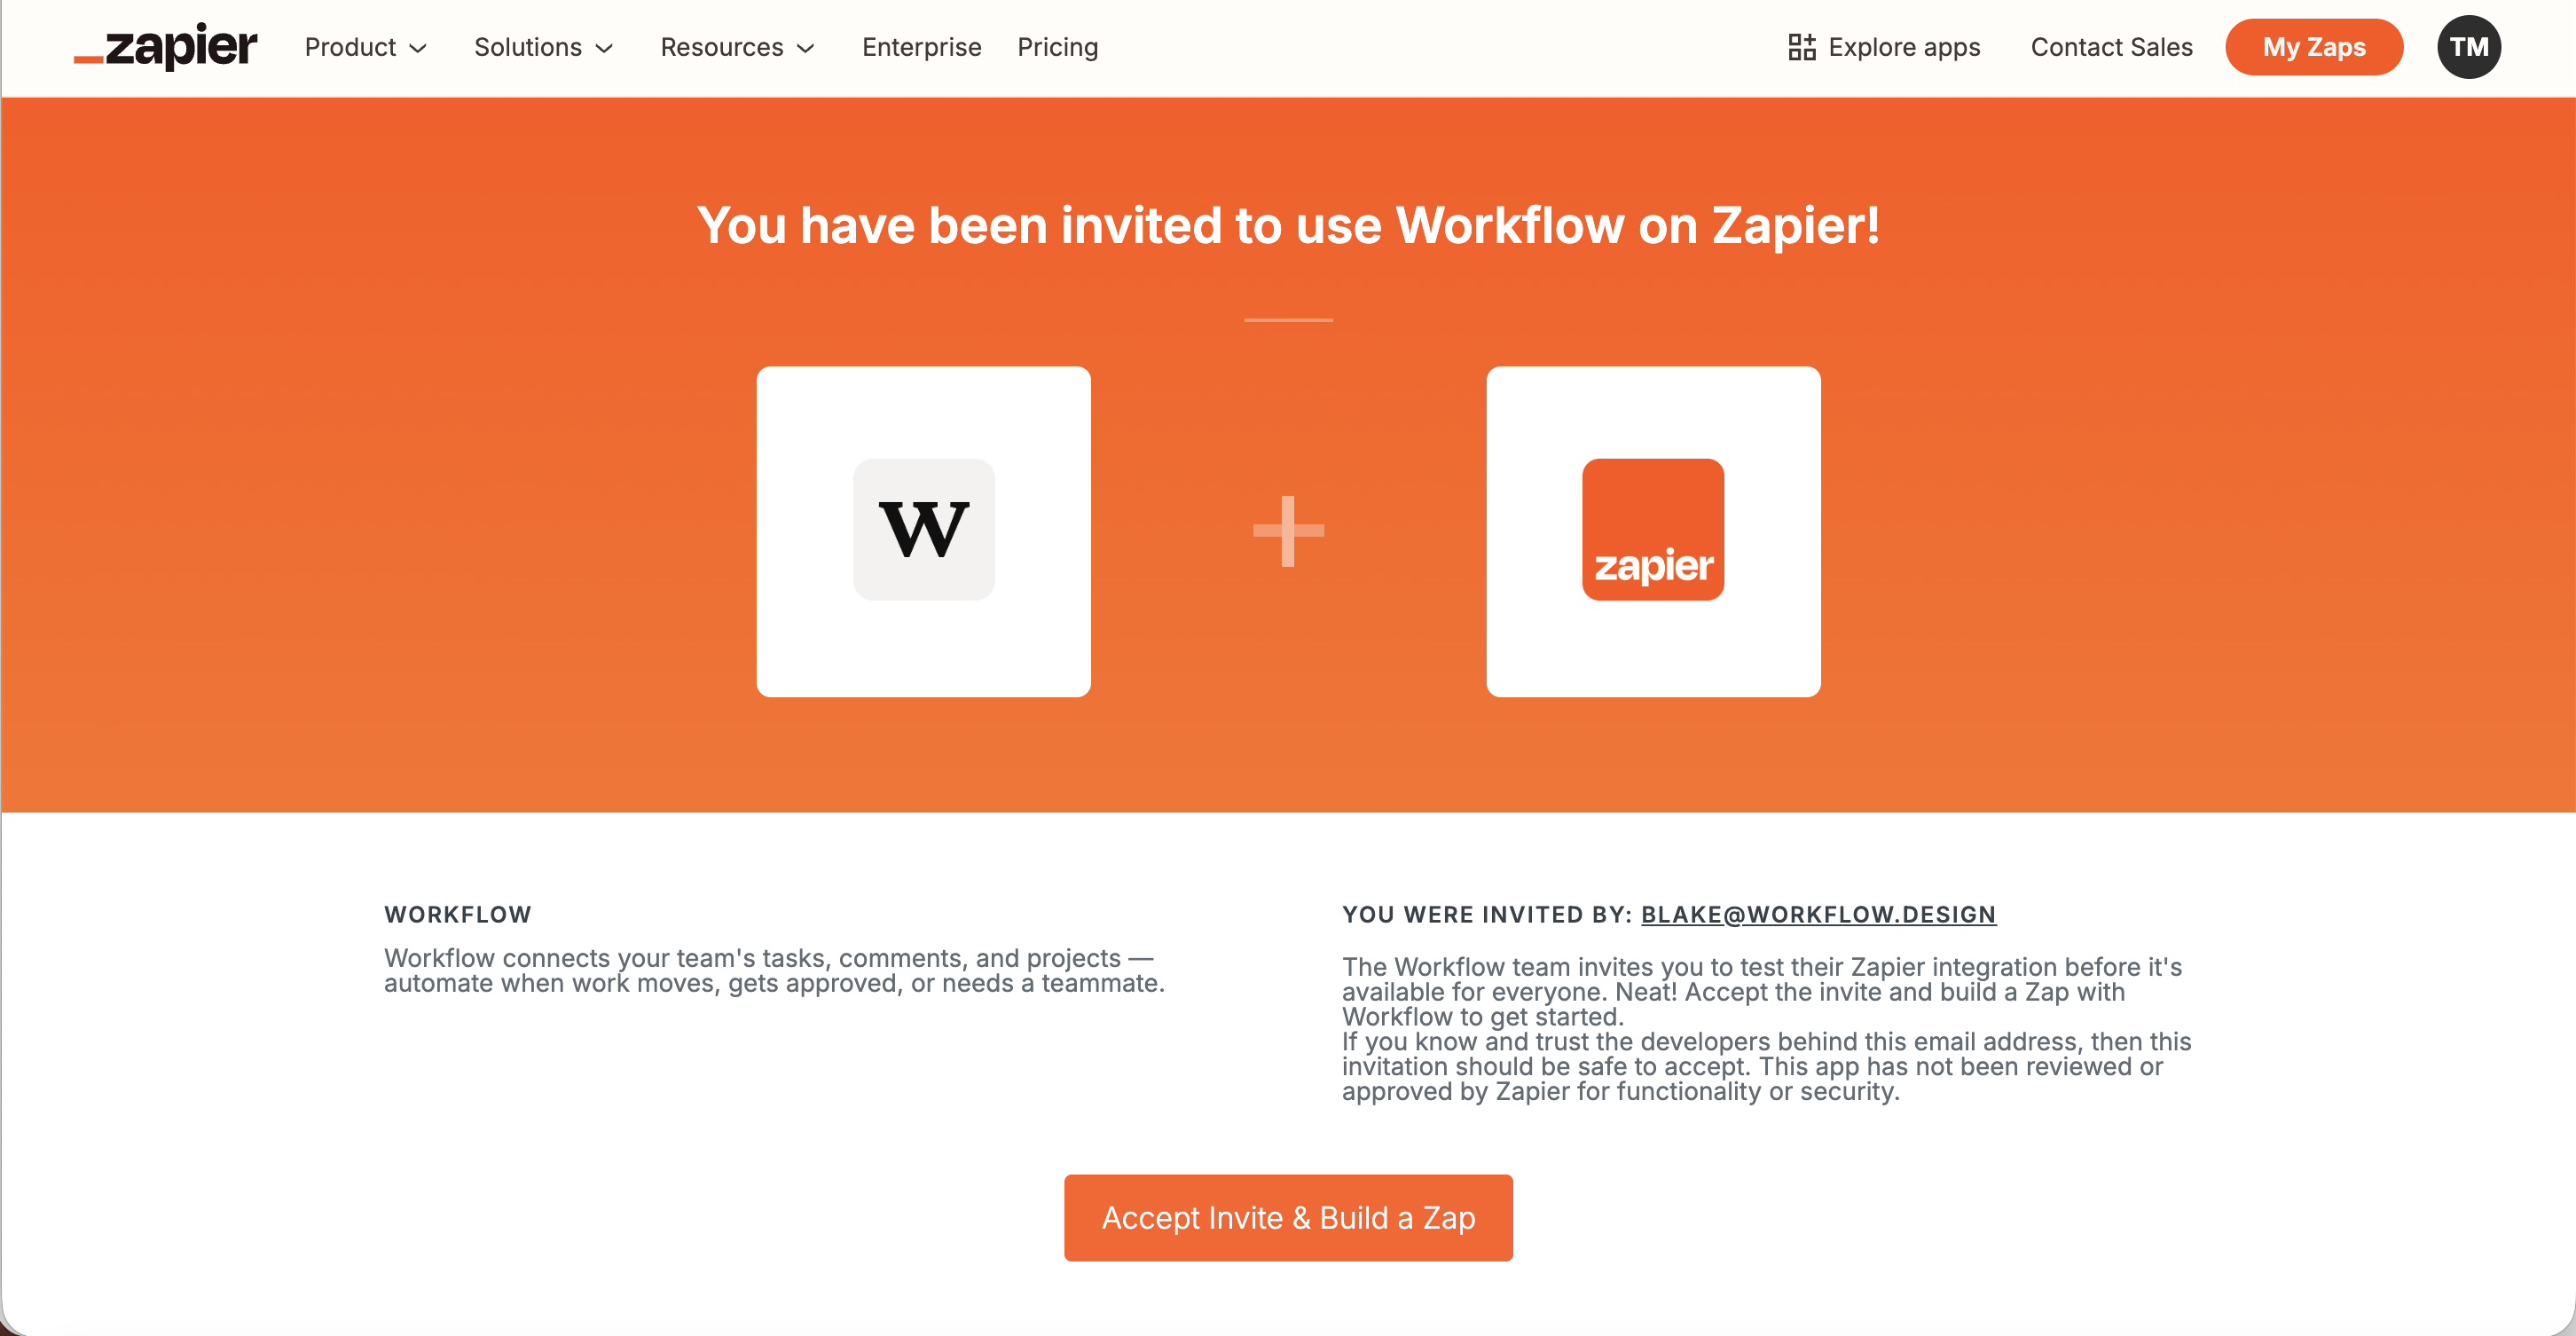
Step 1: Access the beta with the invite link
Important: Workflow is not listed in Zapier's public App Directory yet. You must use the invite link to connect—if you search for Workflow in Zapier, it won't appear until you've used the link below.
You'll be prompted to log in to your Zapier account if you're not already.
You'll see an invitation page for Workflow.
Click Accept Invite
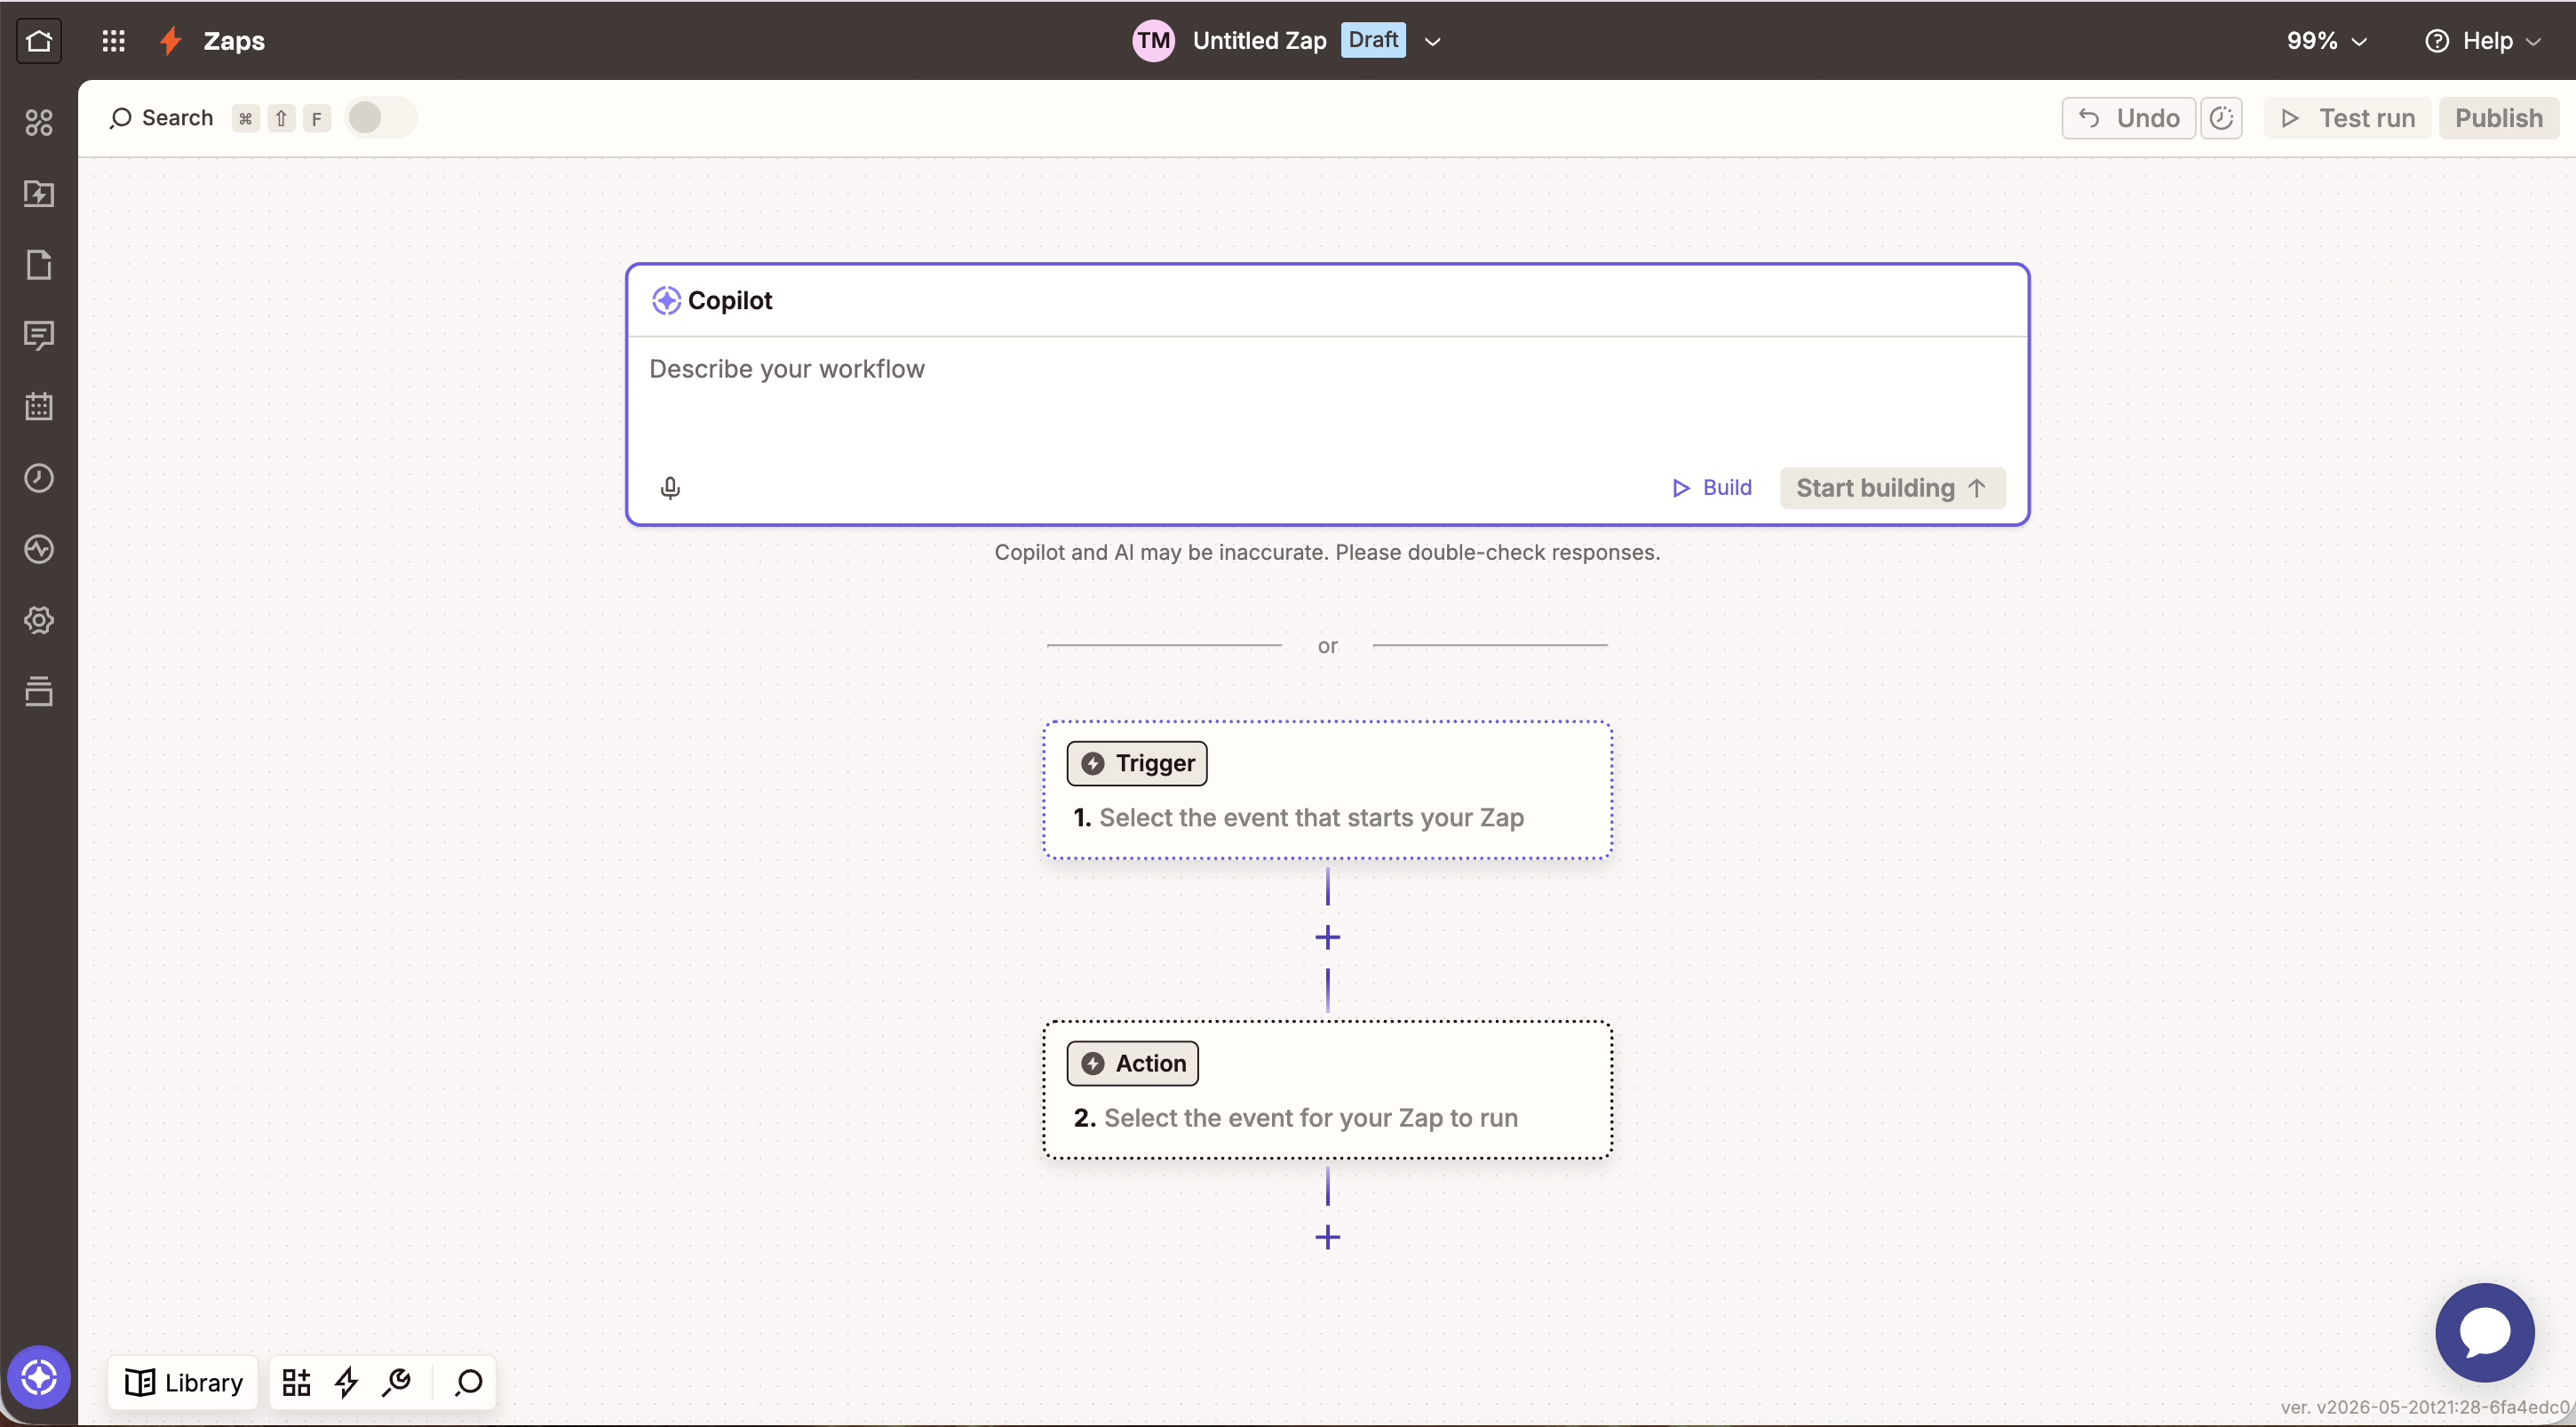
Step 2: Create a Zap and choose Workflow as the trigger
After accepting the invite, you'll be taken to the Zapier editor to create your first Zap:
Click Trigger to select what starts your automation.
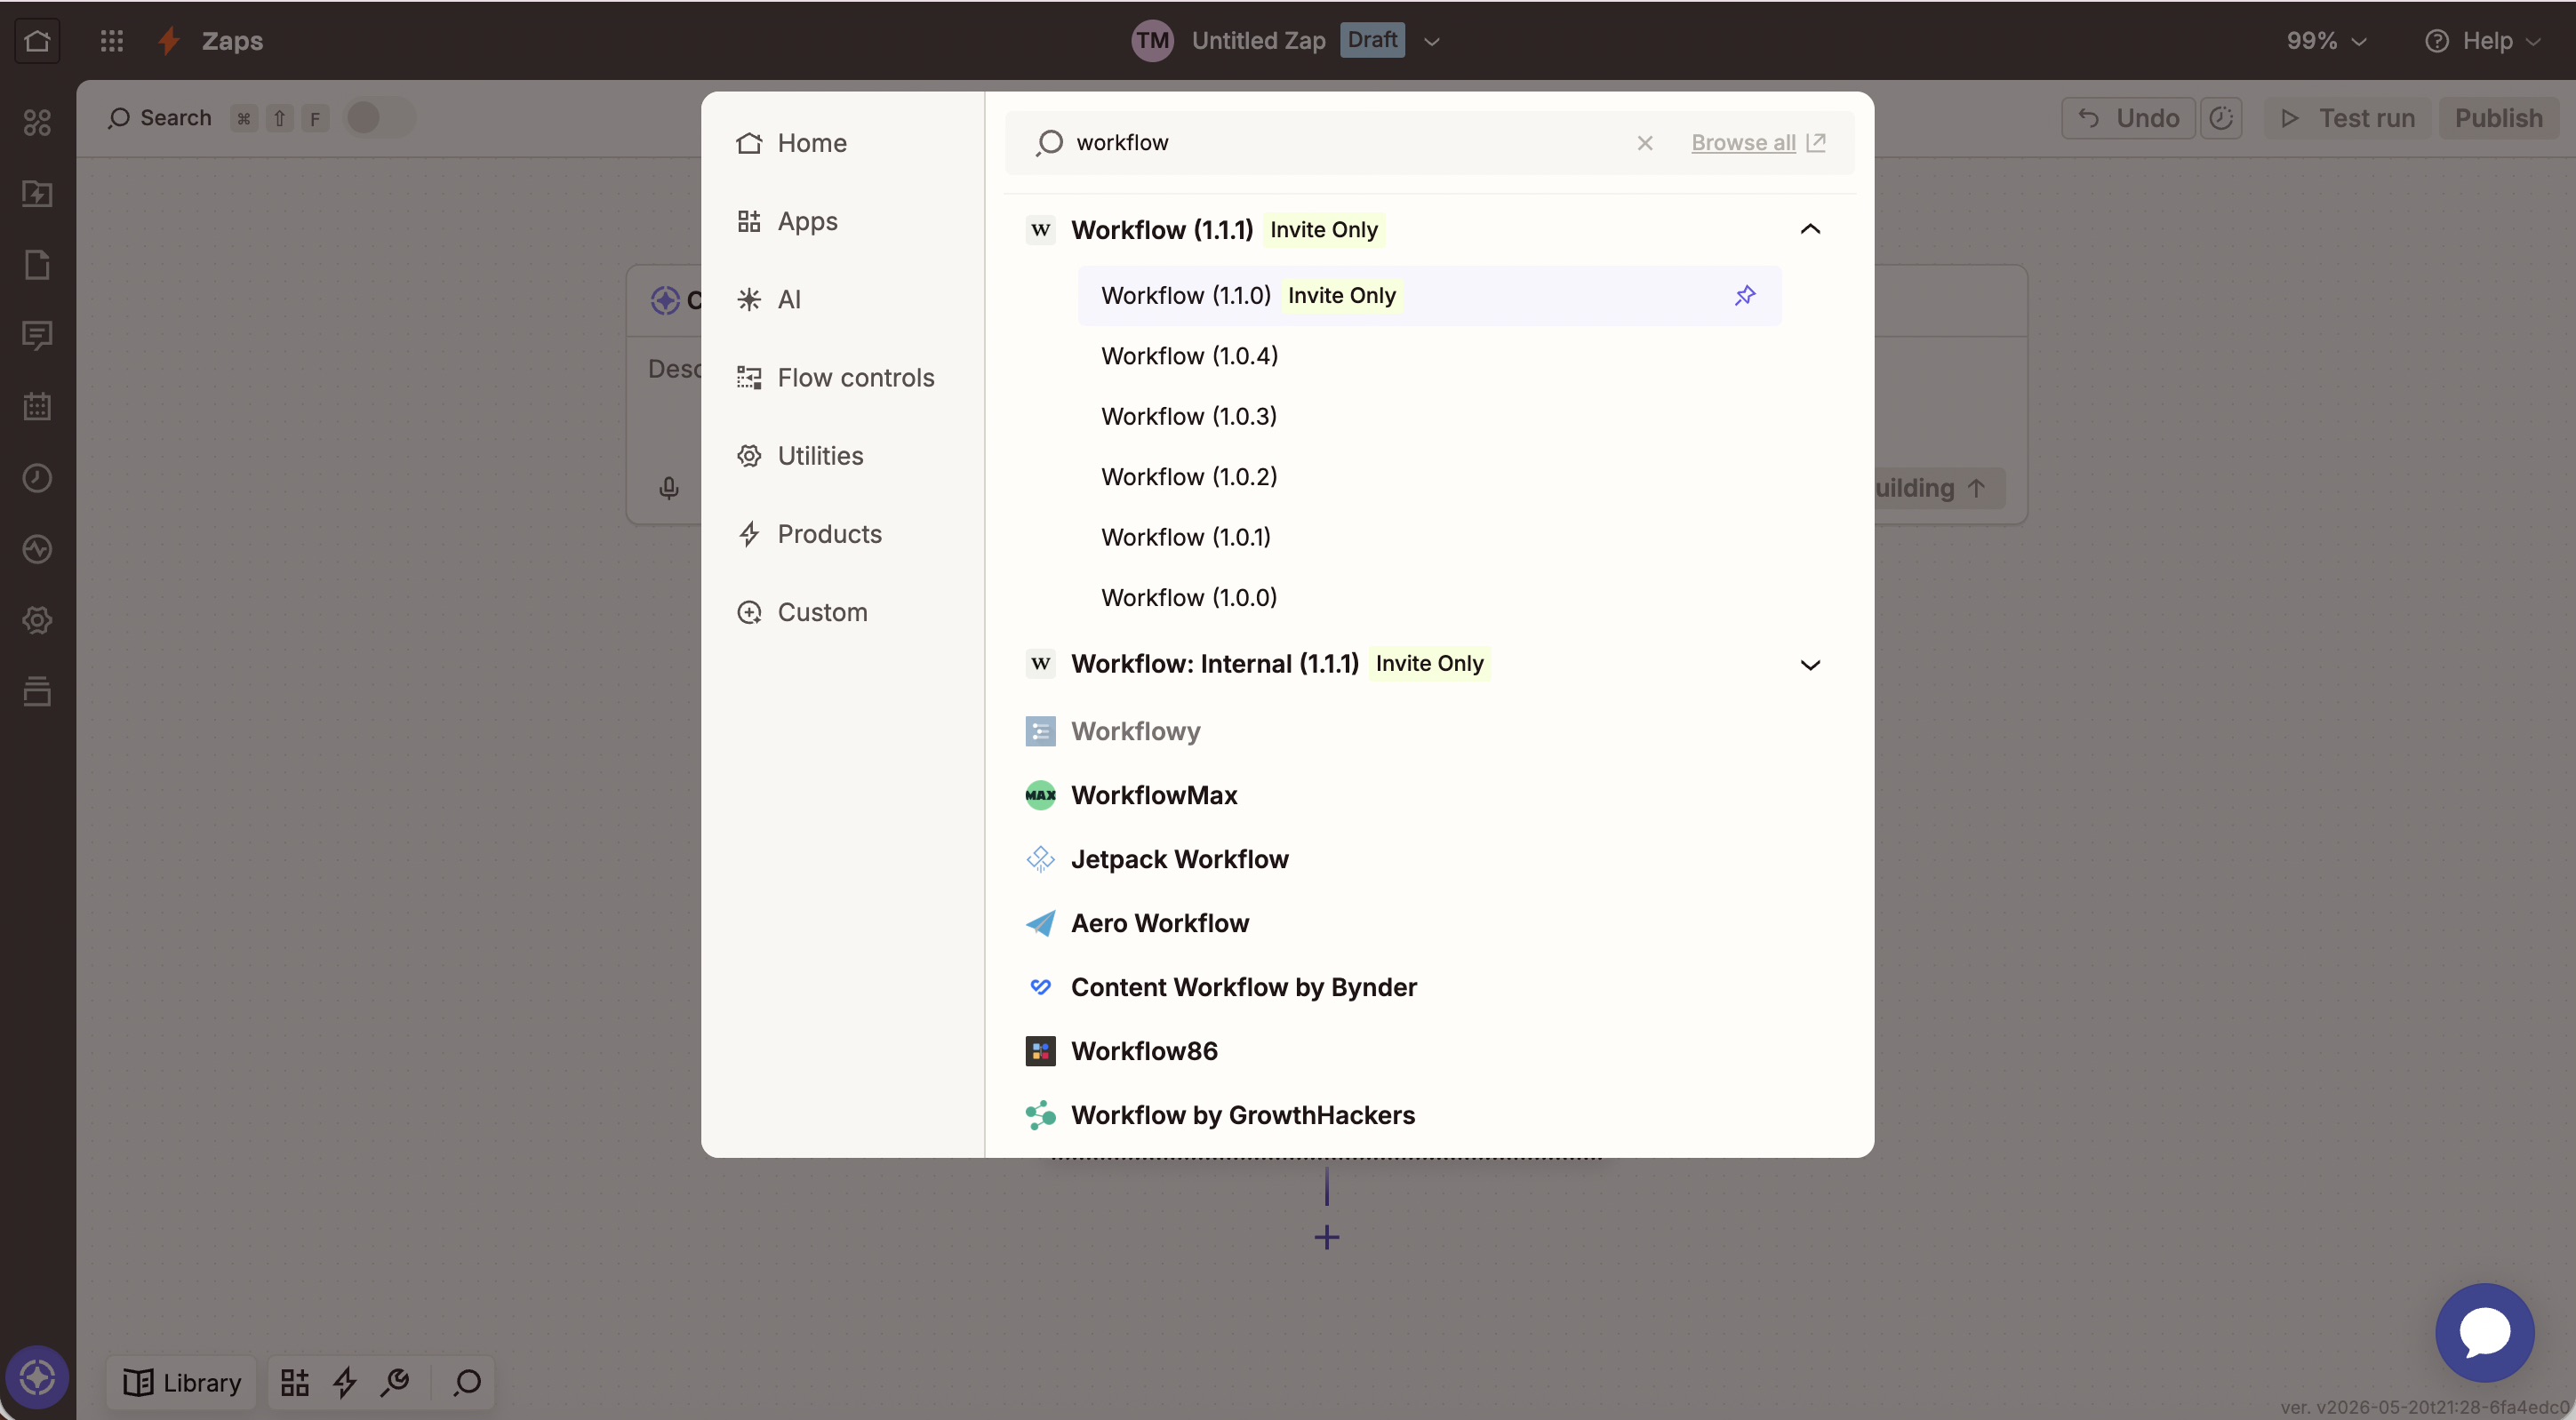
Search for Workflow in the app selector.
You'll see multiple Workflow versions appear:
Choose the right version: Select Workflow (1.1.1) or the latest public version—do not select "Workflow: Internal" as that's for internal testing only. The public versions are stable releases for beta users.
When you select Workflow for the first time, you may see a version picker. Pin it to default to the most recent version:
Click Connect or Authorize.
You'll be redirected to Workflow's authorization page.
Review the account shown and click Authorize.
Expected result: You're redirected back to Zapier with your Workflow account connected.
Your Workflow account is now connected to Zapier. You can create Zaps using any Workflow trigger.
Step 3: Choose a trigger
Select what event in Workflow should start your automation. The beta includes 12 triggers:
Trigger
What it does
New Task
Fires when a task is created
Task Assigned
Fires when someone is assigned to a task
Task Status Changed
Fires when a task moves between lanes
Task Due Date Changed
Fires when a due date is added, changed, or removed
Task Approved
Fires when a task is marked approved
Task Needs Review
Fires when changes are requested on a task
New Comment
Fires when someone comments on a doc, design file, or video
New Version
Fires when a new version is uploaded on a task
New Project
Fires when a project is created
Task Archived
Fires when a task is archived
Task Deleted
Fires when a task is deleted
Task Moved to Storage
Fires when a task is moved to storage
In the Zapier editor, click Trigger.
Select Workflow as the trigger app.
Choose your trigger event from the dropdown.
Click Continue.
Step 4: Configure the action
Choose what happens in another app when your trigger fires:
Click Action in the Zapier editor.
Search for and select your destination app (Slack, Gmail, Google Sheets, Notion, Trello, etc.).
Choose the action type (send message, create row, create task, etc.).
Connect the app and authorize Zapier if prompted.
Map Workflow data fields to the action (task name, URL, assignee, due date, etc.).
Click Continue.
Step 5: Test and turn on your Zap
Click Test trigger to verify Zapier receives data from your Workflow account.
Review the sample data to confirm it looks correct.
Click Test action to send a test to the destination app.
Verify the action succeeded (check Slack for the message, Sheets for the new row, etc.).
Toggle your Zap on.
Test with real events: Zapier uses recent events from your Workflow account for testing. If you don't have recent activity matching your trigger, create a test task or comment first.
What you can automate
Every Workflow trigger can feed any action in Zapier's catalog. Here are examples:
When this happens in Workflow...
...you could automatically
New Task created
Post to a Slack channel, add a row to Google Sheets, create a calendar event
Task Assigned to someone
DM the assignee in Slack, send them an email
Task Status Changed
Update a tracker, notify a stakeholder when something hits "In Progress"
Task Due Date Changed
Create or update a calendar reminder
Task Approved
Notify the client, kick off the next step in your pipeline
Task Needs Review
Alert the owner, log it in a QA sheet
New Comment
Forward feedback to Slack or email
New Version uploaded
Notify reviewers that fresh work is ready
New Project created
Spin up a folder, channel, or kickoff checklist
Task Archived
Move records to long-term storage, update reporting
Task Deleted
Keep an audit log in a spreadsheet
Task Moved to Storage
Trigger cleanup or archival routines
Example Zaps
When a task is marked Approved, post a message to our #wins Slack channel.
When a new comment lands on a design file, email the designer.
When a task is assigned to me, add it to my Google Calendar.
When a new project is created, create a matching channel in Slack.
Managing your Zaps
After you create Zaps, manage them in Zapier:
View all Zaps: Go to My Zaps in Zapier to see status and recent activity.
Pause a Zap: Toggle it off to stop it temporarily.
Edit a Zap: Click the Zap name to modify triggers, actions, or field mappings.
Delete a Zap: Click the three-dot menu → Delete.
Limitations
Triggers only: Workflow can start Zaps but can't receive actions (like creating tasks from other apps) during the beta.
Beta invite required: Workflow isn't listed in Zapier's public App Directory. You mustuse the invite link to connect—searching for Workflow in Zapier won't work until you've used the link.
Zapier task limits: Free Zapier accounts are limited to 100 tasks per month. Each Zap execution counts as one task.
Account-level connection: Zapier connects to your Workflow account, not individual team members.
Troubleshooting
Your Zap is on but actions aren't happening
Possible causes:
Trigger hasn't fired: Make sure the trigger event is actually happening in Workflow.
Action app disconnected: Re-authorize the destination app in Zapier.
Missing required fields: Check that all required fields in the action are filled with Workflow data.
How to check: Open your Zap → Runs tab → look for red X marks and read the error details.
Test passes but real triggers don't work
Possible causes:
Your test used sample data, but real events might not match filter conditions.
The Workflow trigger wasn't fully subscribed—disconnect and reconnect Workflow in Zapier.
Solution: Disconnect Workflow from Zapier, reconnect, and re-test.
Workflow isn't appearing in Zapier search
During beta, Workflow isn't in the public App Directory yet. Use the invite link to access it. Once connected, Workflow will appear in your Zapier account.