
Getting Started
Workflow helps you collect clear, high-quality feedback on your design work and run an efficient review process.
Whether you're sharing live websites, Figma designs, images, videos, or PDFs with clients or teammates, Workflow gives you a central place to organize feedback, track versions, and get approvals—all without requiring reviewers to create accounts.
In this guide, you'll learn the core workflow: add work, share it, collect feedback, and get approval.
If you haven't yet, create an account to get started.
Add your work
Everything in Workflow starts with a project. Projects contain all your tasks (or "documents")—each one a piece of work you want feedback on.
To create your first project:
Open Workflow and go to Projects in the sidebar.
Click "Start a project" to create a new project.
Give your project a name, then add your first task.
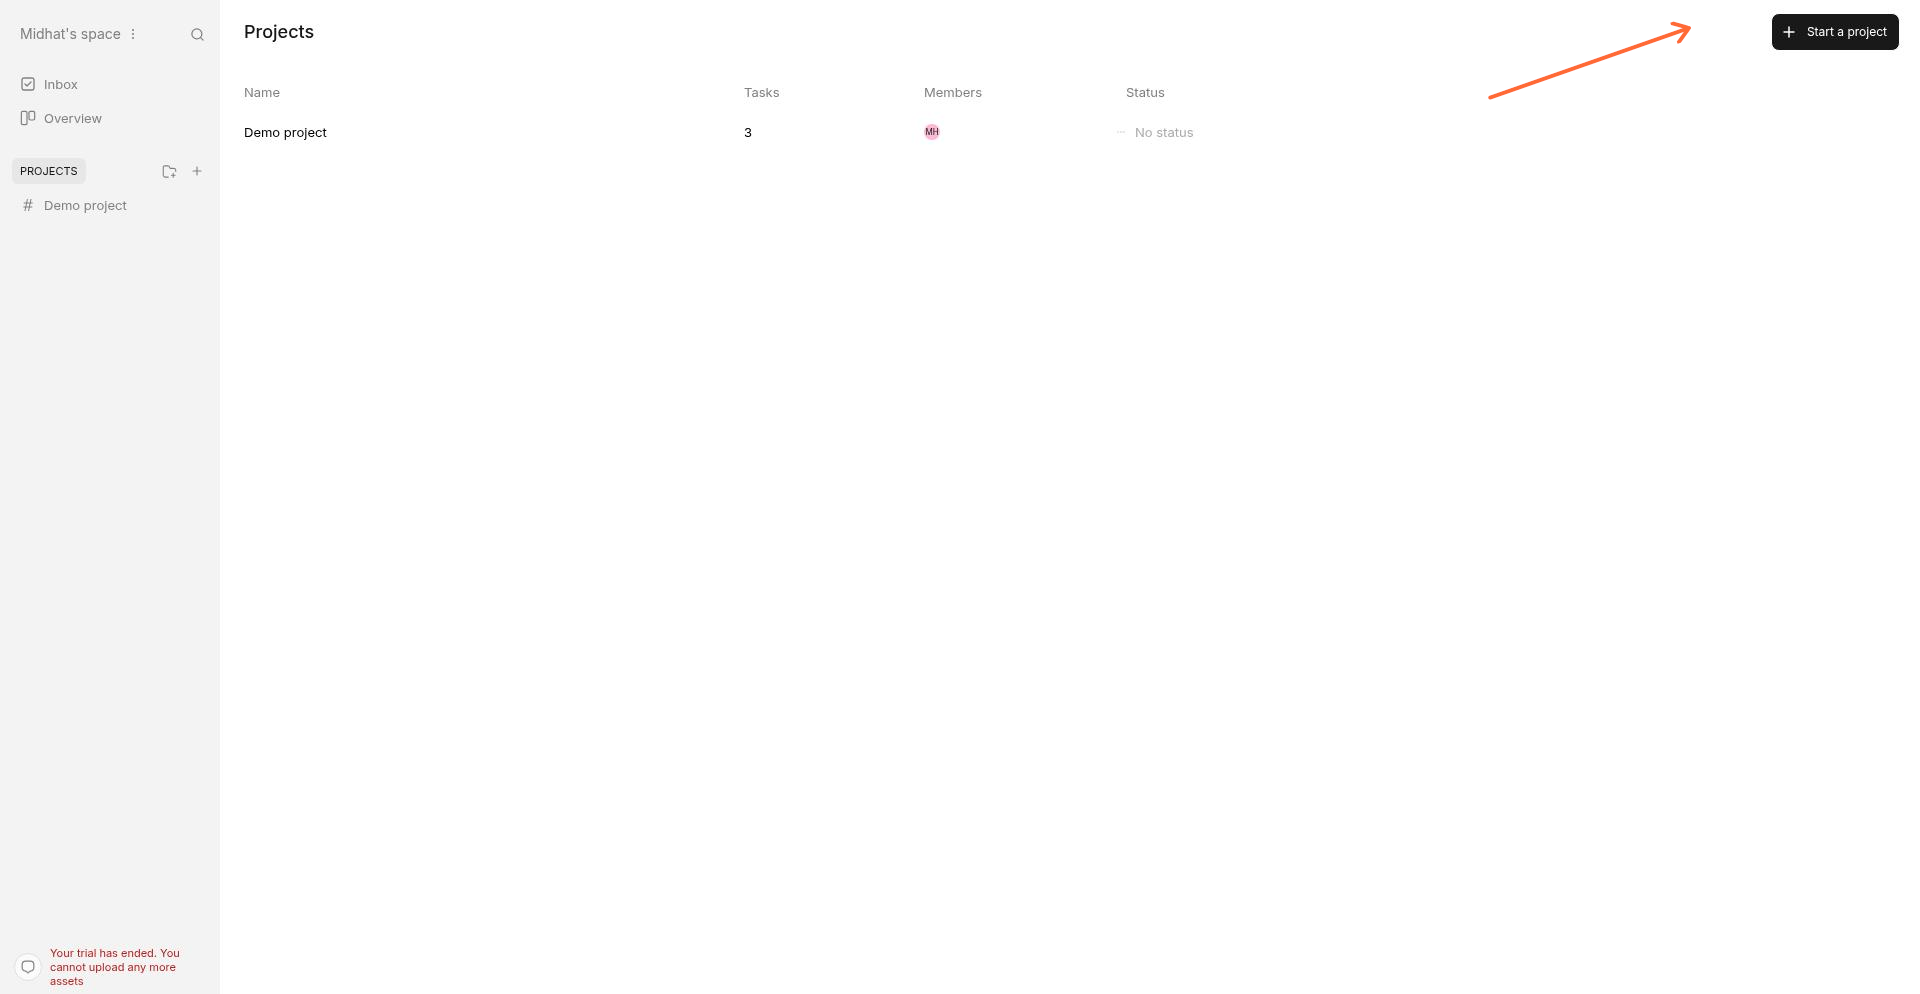
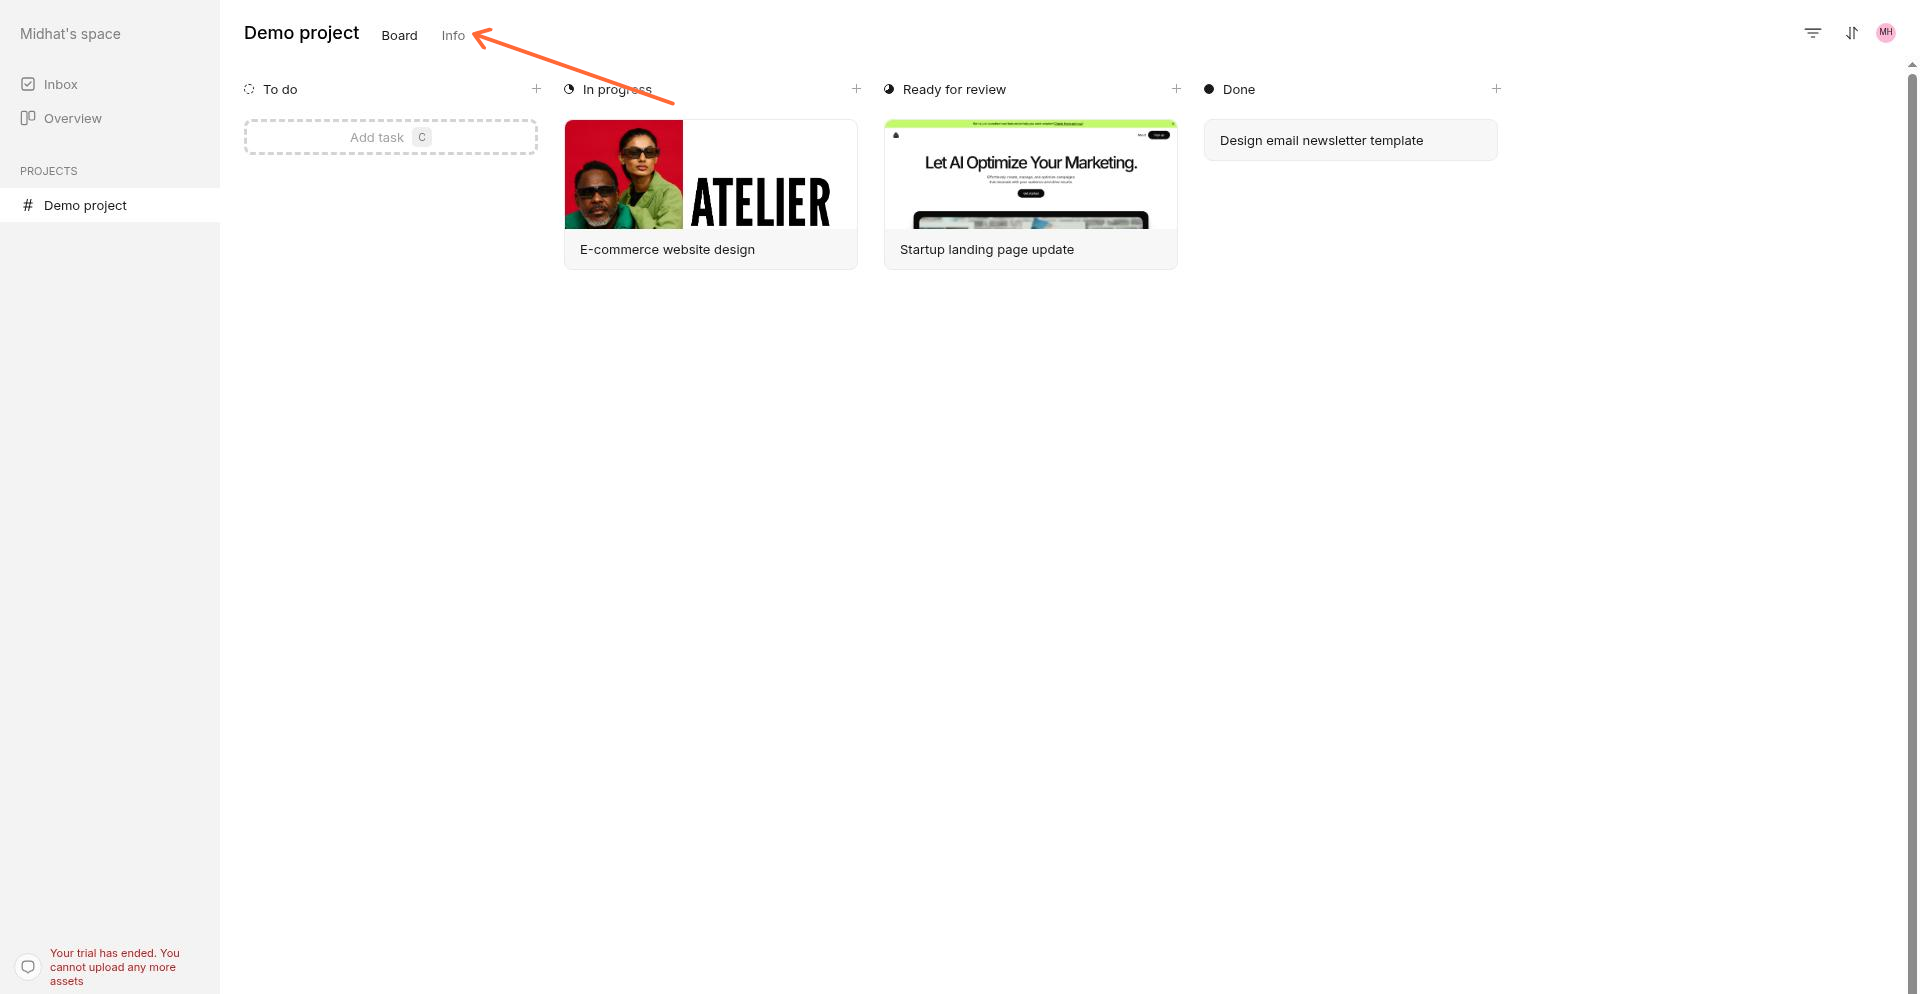
Your project opens as a board view where you can organize tasks into columns like "To do," "In progress," "Ready for review," and "Done."
What you can add
Each task contains a creative asset—the work you want reviewed. You can add:
Live websites – Enter a URL to sync any live site (Squarespace, Webflow, WordPress, and more). Workflow captures screenshots automatically with each comment.
Images – Upload static designs, mockups, or photos.
Videos – Upload video files with timestamped comments.
PDFs and presentations – Upload documents for review.
Figma files – Install the Figma plugin to sync frames directly.
Photoshop files – Install the Photoshop plugin to push designs into Workflow.
For a full list of supported formats, see What creative formats does Workflow support?.
Share the link
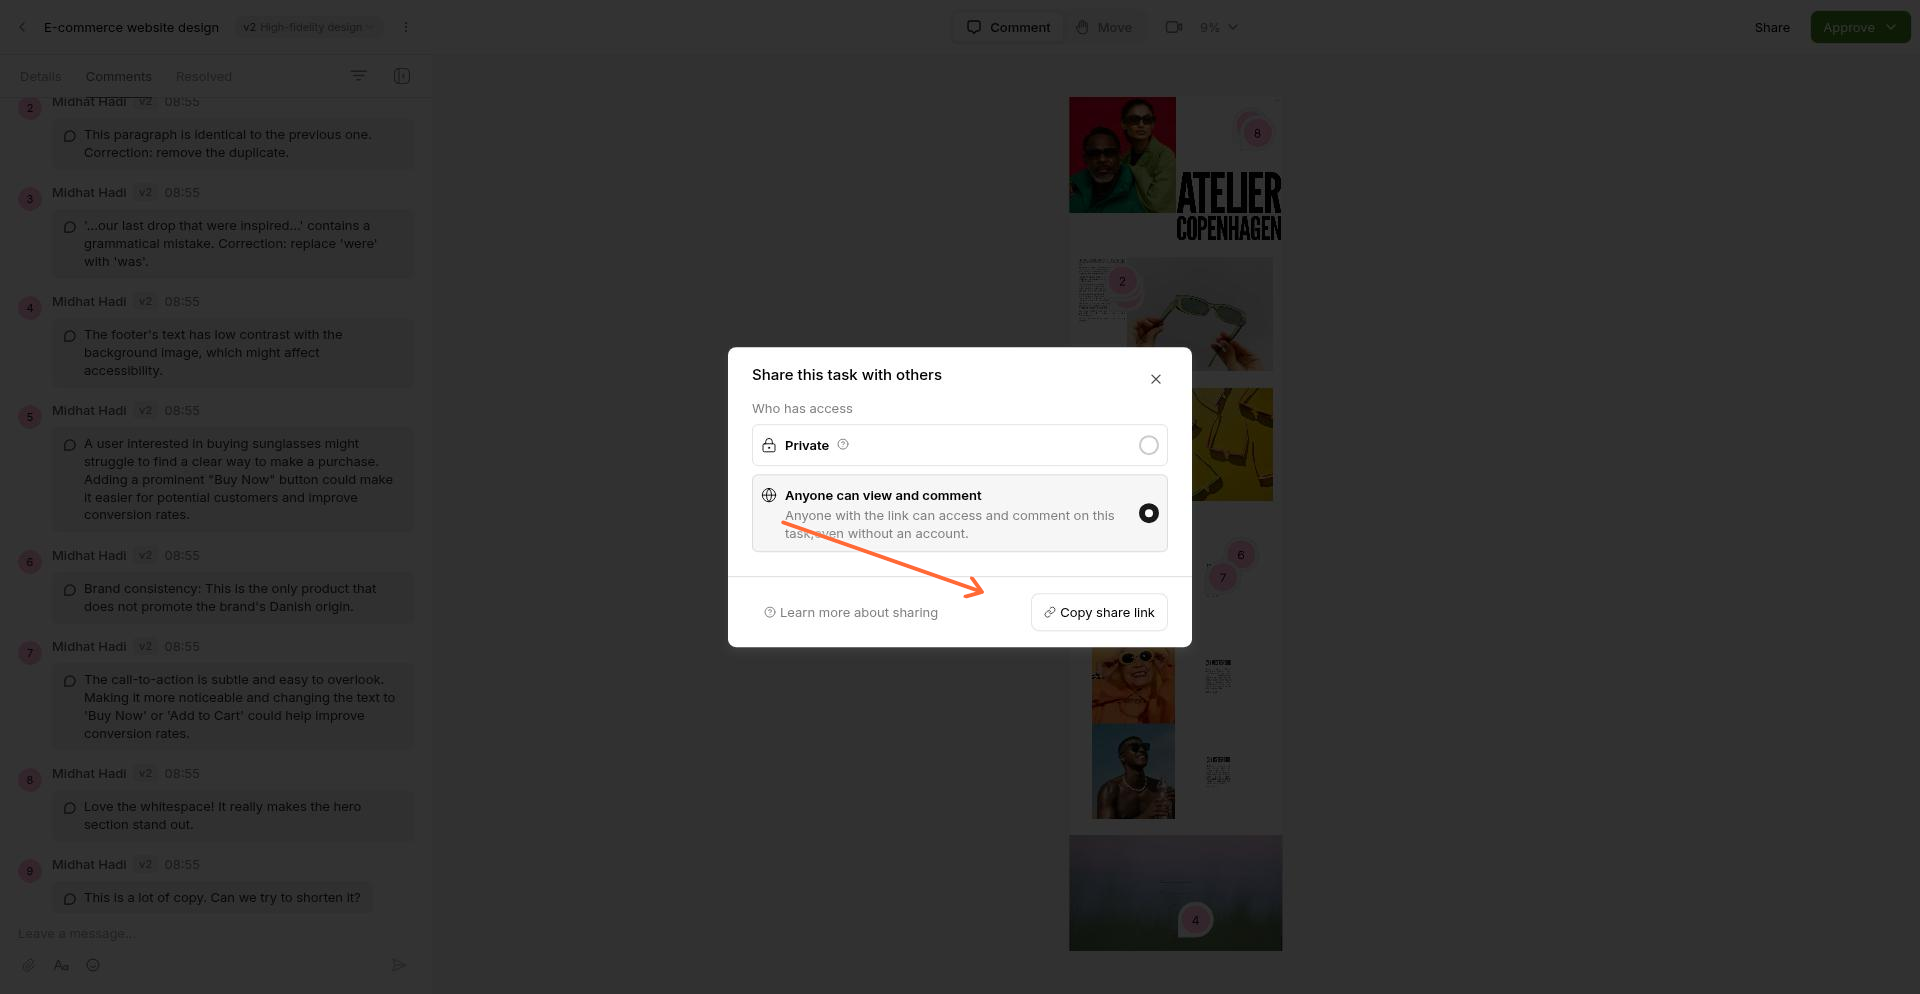
Once your work is added, share it for review. Workflow uses shareable review links that make it easy for anyone to give feedback—no account required.
To share your work:
Open the document you want to share.
Click "Share" in the top right corner.
Choose your sharing preference:
Private – Only invited people can view and comment.
Anyone can view and comment – Anyone with the link can leave feedback without logging in.
Click "Copy share link" and send it to your reviewers.
What reviewers see
When reviewers open your link, they see your work in a clean review interface. The first time they visit, they get a guided tour explaining how to leave comments, record feedback, and approve work.
Reviewers do not need to create accounts. They can view your work and leave feedback using just their email address for verification.
For more details, see What Reviewers See.
Get clear feedback
Workflow gives reviewers multiple ways to leave feedback—all kept in one place so nothing gets lost in emails or chat threads.
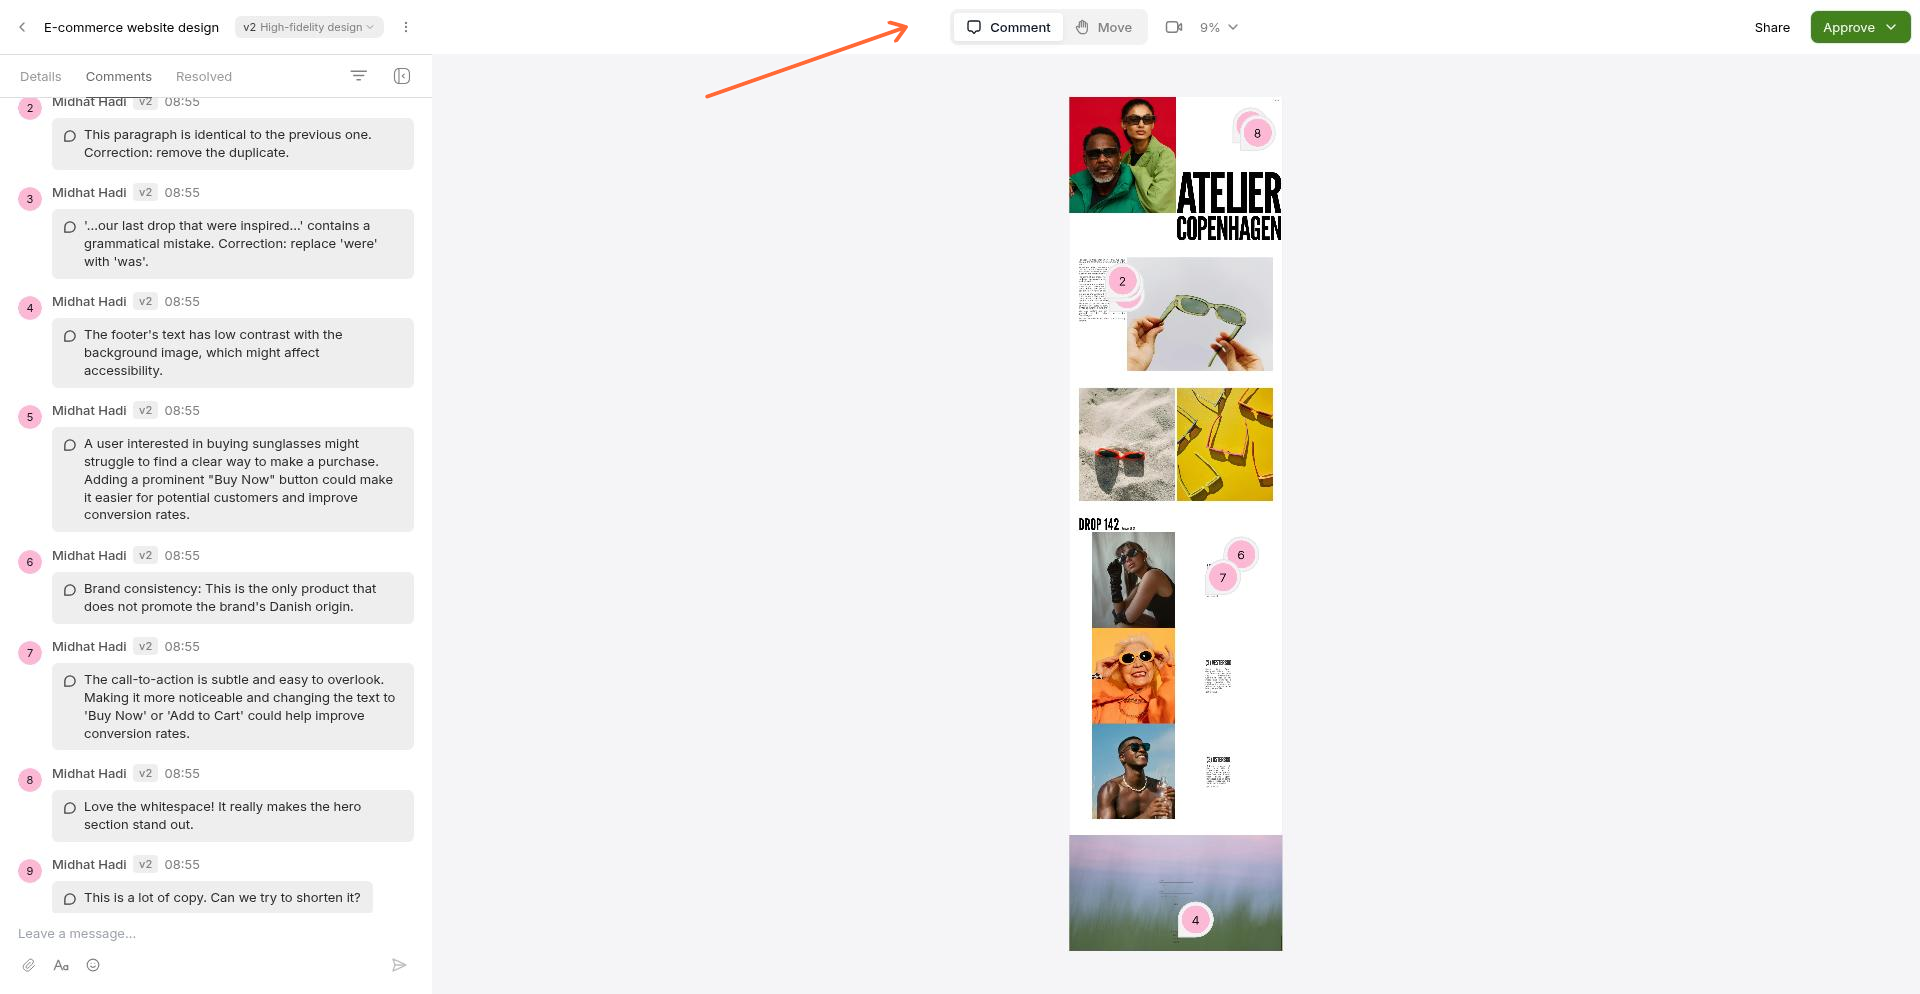
On-asset comments
Reviewers can click anywhere on your work to leave a comment. Comments support:
Threaded replies – Have discussions directly on specific feedback.
Emoji reactions – Acknowledge comments without writing a full reply.
Attachments – Add images or files to clarify feedback.
Mark as resolved – Check off feedback once you've addressed it.
For live websites, comments also capture the page URL, reviewer's screen size, browser, and a screenshot of what they saw—making it easy to reproduce issues.
For videos, comments are timestamped and appear on a timeline.
Voice and screen recording
Reviewers can record short video walkthroughs directly in the browser—similar to Loom. This is ideal for explaining complex ideas that are hard to describe in text.
To start a recording, reviewers click the record icon in the top navigation bar. No installation required.
Sidebar messages
For overall feedback or questions that don't belong on a specific part of the design, reviewers can use the sidebar chat. Open the Comment tab and add a message at the bottom.
Real-time collaboration
For live discussions, many teams use Workflow alongside video calls on Zoom or Microsoft Teams. On images and PDFs (not websites), Workflow shows live multiplayer cursors so everyone can see where each person is pointing during the call.
Learn more about all feedback options in Feedback.
Get approval
When you're ready for sign-off, enable approvals to add an approval button to the review interface. This lets reviewers mark your work as approved or request changes—signaling the end of the review cycle.
To enable approvals:
Open your document.
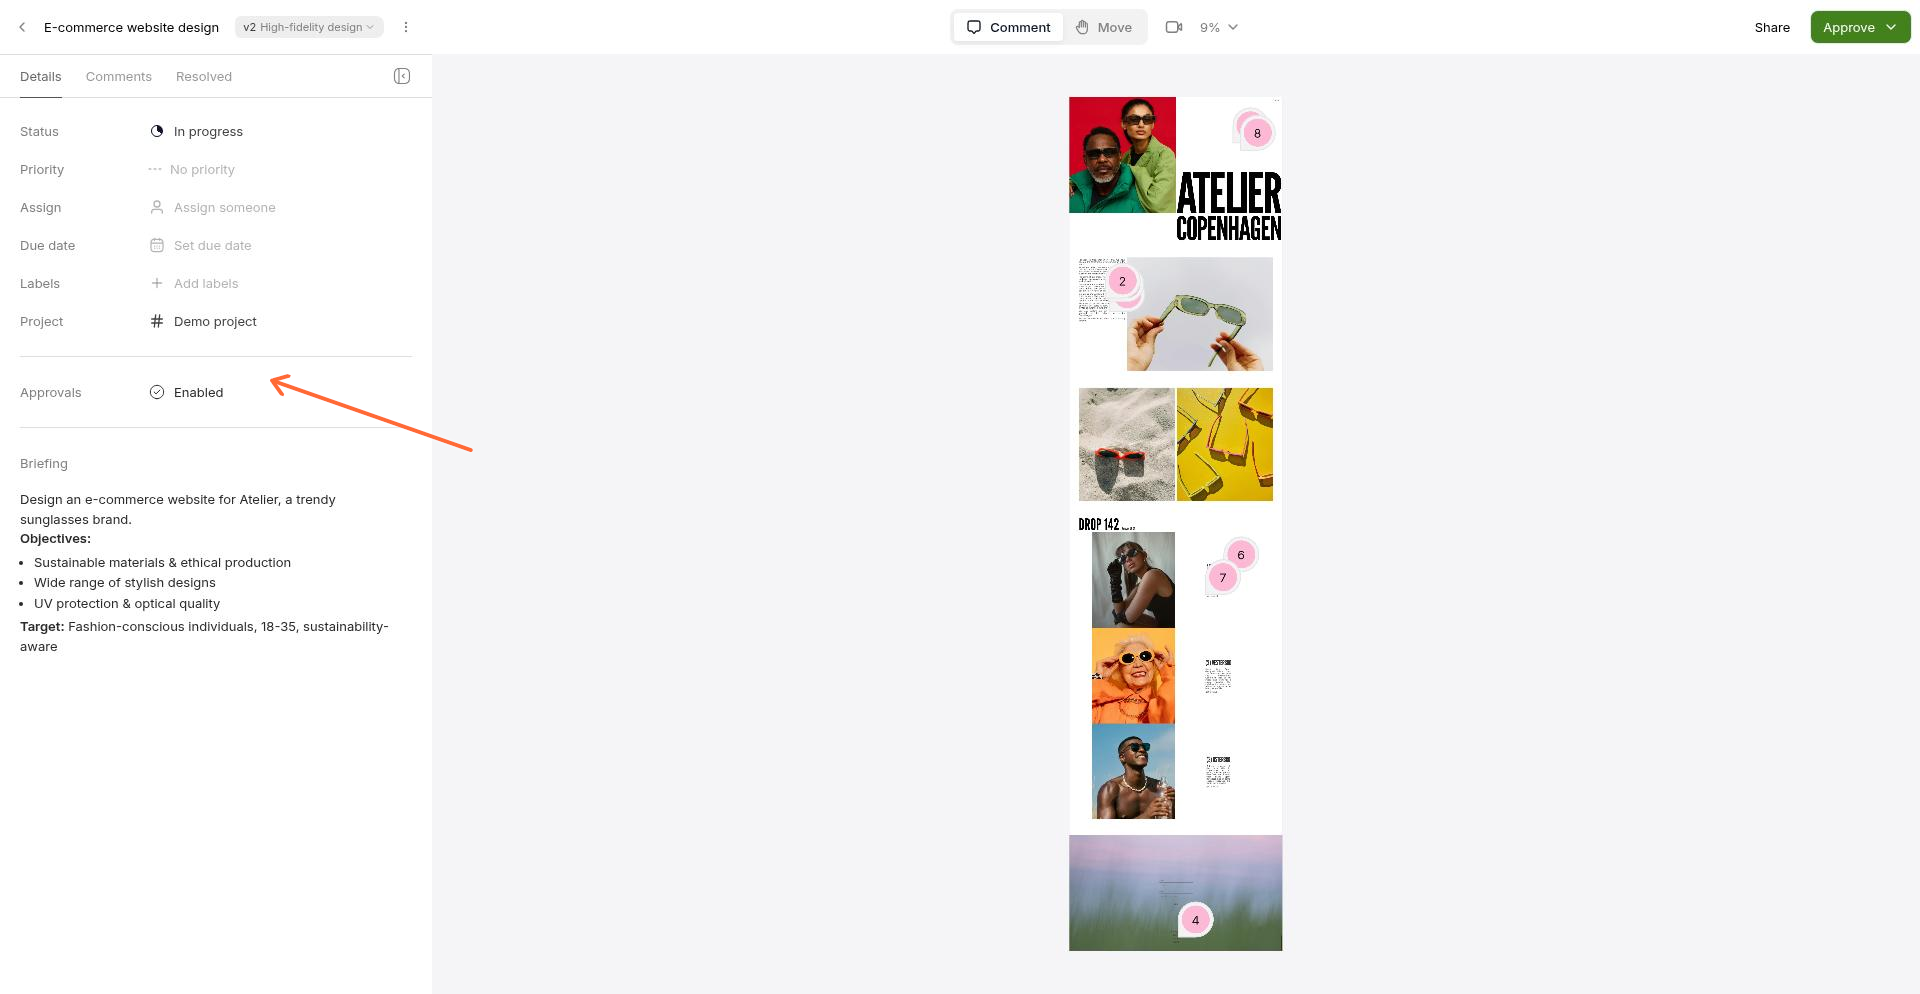
Click the "Details" tab in the sidebar.
Find the Approvals section and toggle it to Enabled.
Reviewers will now see an approval button in the top right of the review interface. They can choose:
Approve – Mark the work as approved.
Request changes – Indicate that changes are needed before approval.
What happens after approval
You receive a notification that the work was approved.
The work is marked as "Approved" on your dashboard.
An approval message appears in the comments timeline.
Note: Approving work doesn't prevent new comments from being added. This keeps feedback centralized in Workflow instead of scattering to email. You can still unapprove or reset at any time.
For more details, see Approval.
Make changes and add the next version
If changes were requested, go back to your creative tool, make updates, and add a new version to Workflow. Versioning keeps a clear history of all iterations—no more "final_final_v3" file names.
How versions work depends on your asset type:
Live websites – Just publish changes to your site. Workflow automatically shows the latest published version.
Uploaded files (images, PDFs, videos) – Click the version selector in the top left and choose "Add version" to upload your updated file.
Figma or Photoshop – Use the plugins to sync updated frames.
Each version preserves its own comments and feedback, so you can review the complete history. Reviewers are notified by email when a new version is added.
Learn more in Versions.
Bringing it all together
Workflow's core review loop is simple:
Add your work to a project.
Share the review link with your reviewers.
Collect feedback and approval.
If changes are requested, make updates and add a new version—then repeat.
Everything stays in one place. No lost emails, no scattered chat threads, no confusing file names.
Next steps
Now that you know the basics, explore these topics:
Feedback – Deep dive into comment types, recordings, and sidebar messages.
Approval – Learn about approval workflows and resetting status.
Versions – Manage version history and compare iterations.
What Reviewers See – Understand the reviewer experience.
What Clients and Guests See – Learn about guest access and permissions.